Introduction:
Recording in a soundproof booth offers a controlled and distraction-free environment, allowing you to capture pristine audio. However, achieving professional results also depends on how you set up your recording equipment within the booth. In this guide, we will walk you through the essential steps to properly set up your gear for optimal recording quality.
1. Choose the Right Microphone:

Selecting the appropriate microphone is crucial. Consider factors such as microphone type (condenser, dynamic, ribbon), polar pattern (cardioid, omnidirectional, figure-8), and sensitivity. Ensure that your microphone suits your voice or music instrument and the style of recording you plan to do.
2. Microphone Placement:
Now comes the fun part - positioning your microphone for the best sound capture. When it comes to vocal recordings, think of your microphone as your best friend. Place it at a distance of approximately 15 to 30 centimeters from your mouth, just a bit off-center to avoid those popping sounds. Don't be afraid to play around with angles and distance until you find that magical spot that perfectly complements your voice or instrument.
3. Use a Pop Filter:
To add a touch of professionalism and prevent those popping sounds and sibilance, bring in the trusty pop filter. It's like your microphone's personal bodyguard, shielding it from bursts of air that could distort your recordings.
4. Set Up Headphones:

For your listening pleasure, choose closed-back headphones that provide excellent isolation. They're your ticket to preventing any sound leakage into the microphone. Plug them into your audio interface and crank up the volume to your preferred comfort level.
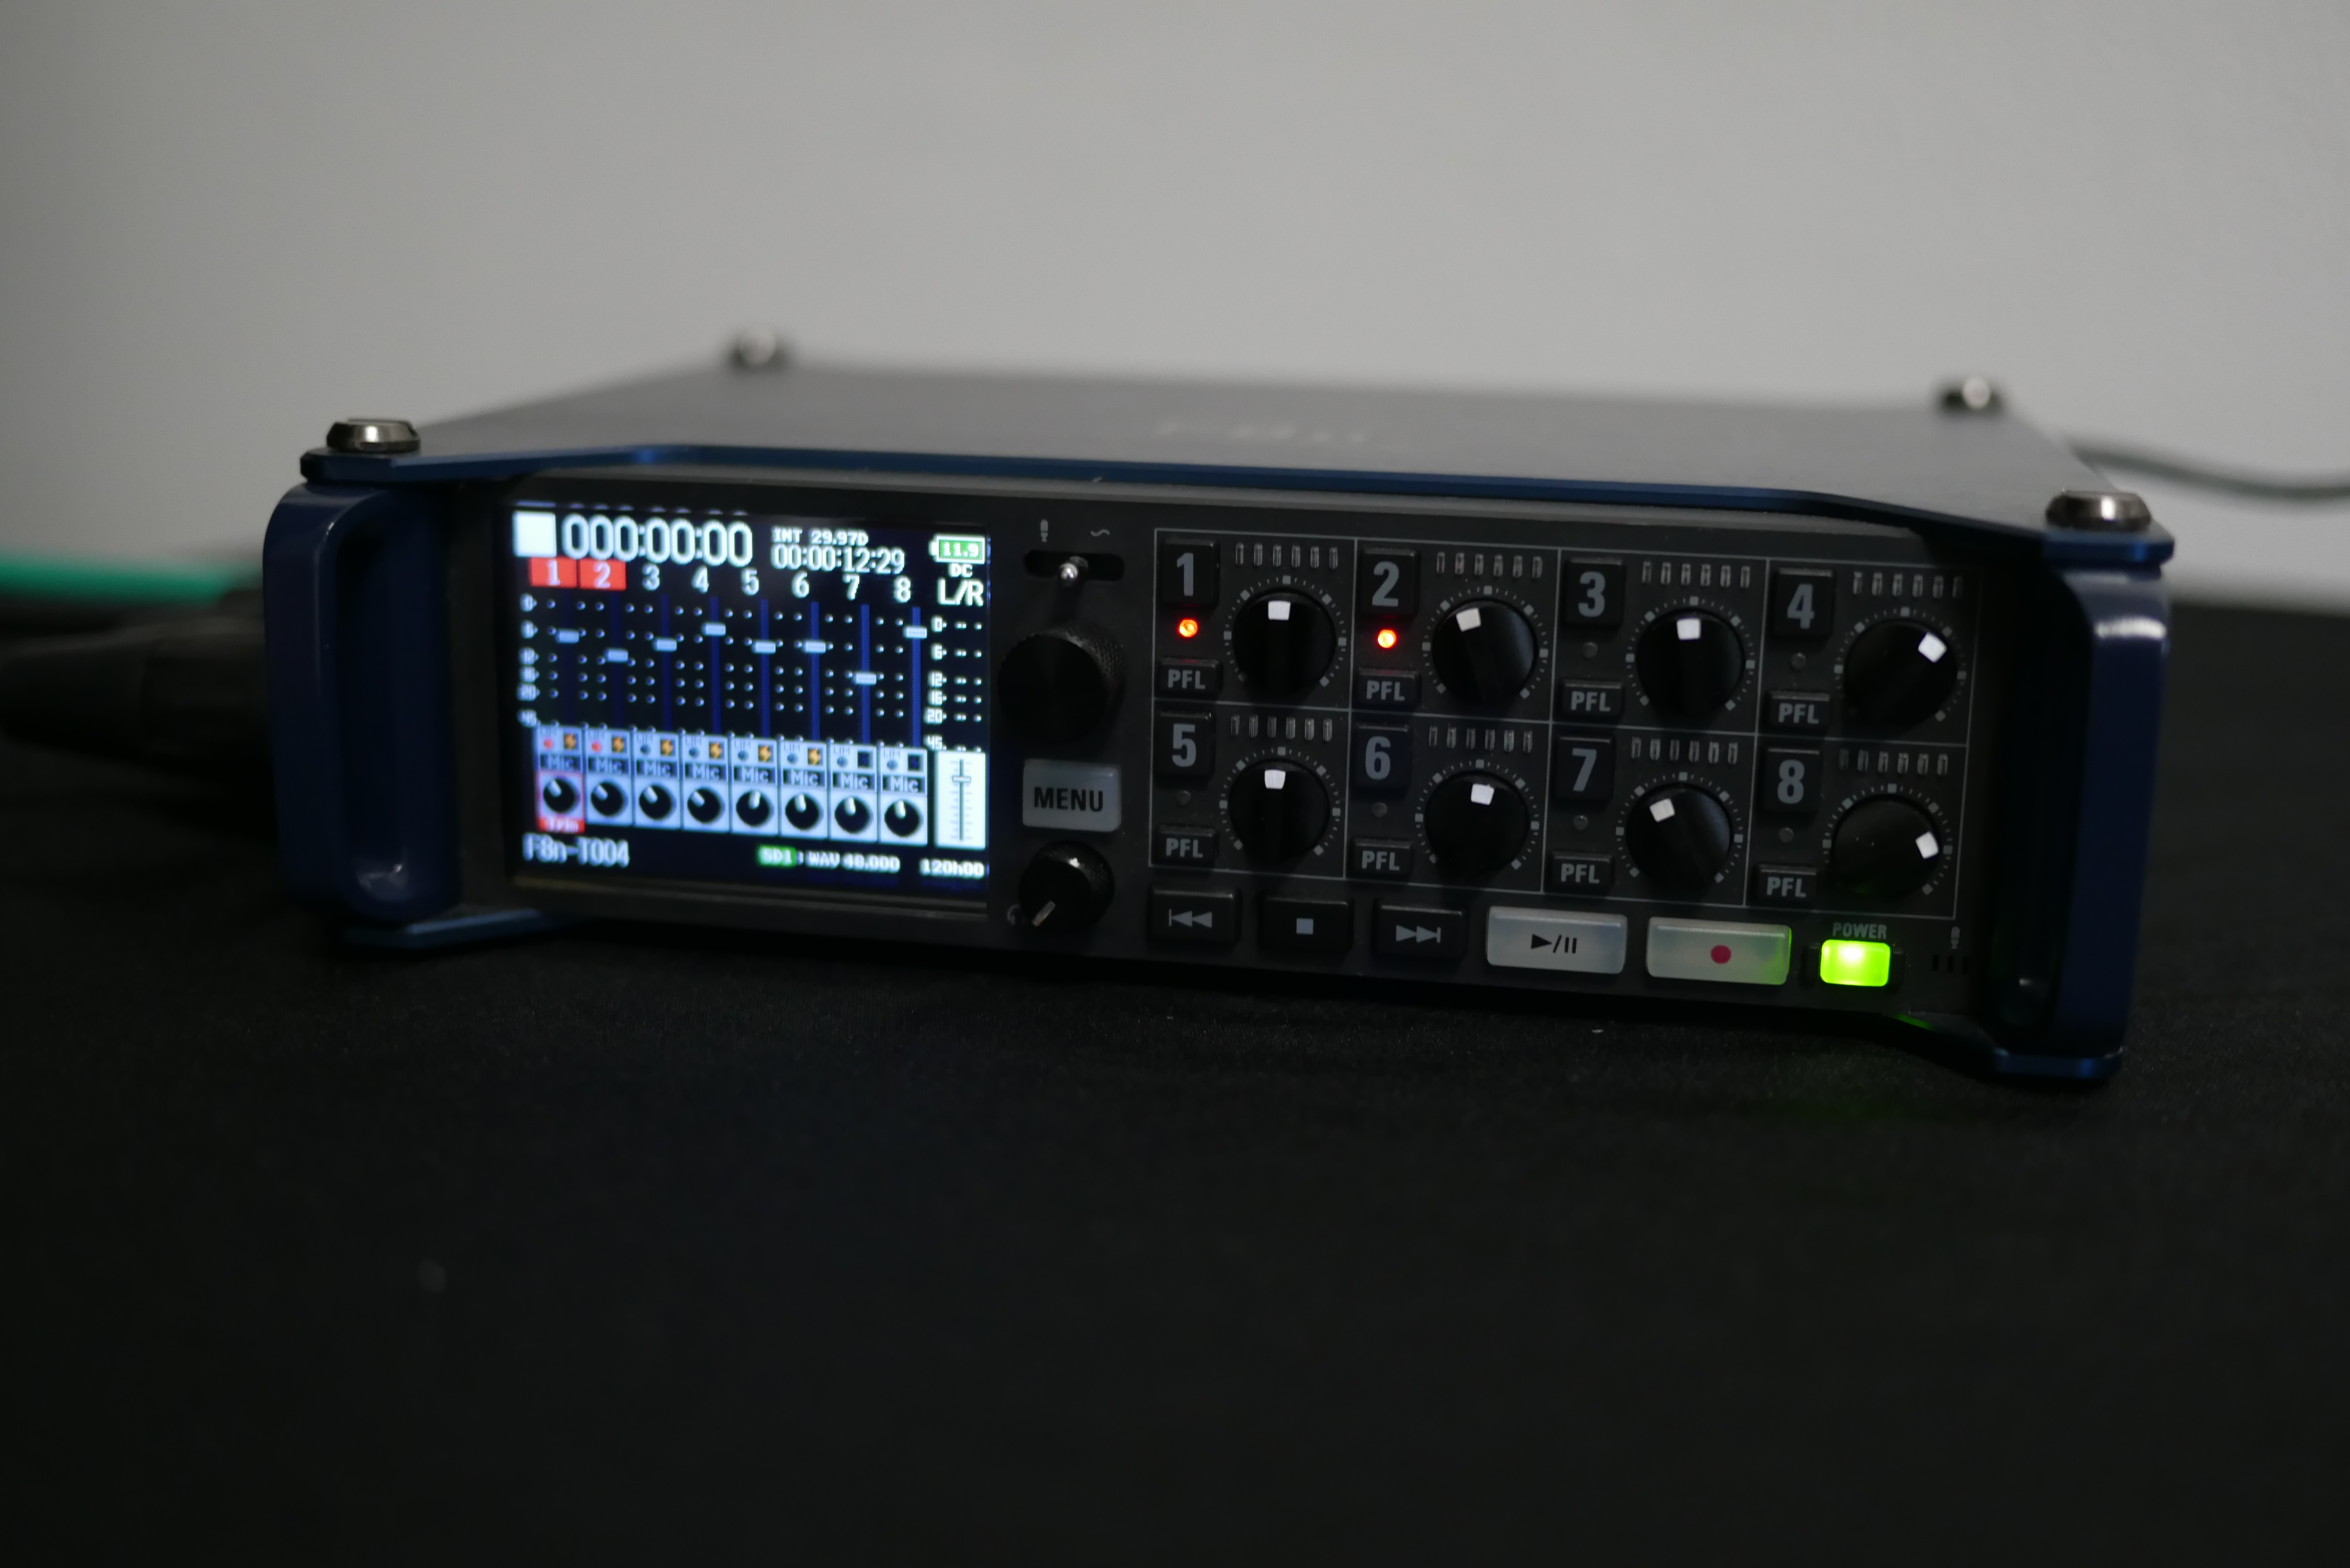
5. Audio Interface and Preamp:

Now, let's get technical. Connect your microphone to a audio interface equipped with built-in preamps. Crank up the gain on the preamp just enough to hit that sweet spot for optimal recording levels. Keep an eye on that level meter; we're avoiding the red zone to prevent any unwanted clipping.
6. Monitor Speakers (Optional):

If you're all about that studio vibe and prefer monitor speakers for playback, place them outside the soundproof booth. This keeps them from conspiring with your microphone to leak sound. And, of course, ensure that your speakers are tuned to perfection for that impeccable sound reproduction.
7. DAW (Digital Audio Workstation):
Time to fire up your DAW, your trusty digital companion. Whether your computer is stationed outside the booth or you're rocking a dedicated recording laptop inside, get that software up and running. Configure your recording tracks and fine-tune input/output settings to match your audio interface. It's like setting the stage for your audio masterpiece.
8. Acoustic Treatment:
Enhance Your Soundproof Booth with Acoustic Blankets. Acoustic blankets are versatile tools that absorb sound, reducing echoes and reverb in your soundproof booth. By strategically placing them on walls and ceilings, you can achieve cleaner and more professional-sounding recordings. These cost-effective blankets are essential for improving sound isolation and clarity in your soundproof space.
9. Test and Monitor:
Before you dive into recording, run a soundcheck to make sure your gear is in tip-top shape. Keep an eye on those recording levels on your audio interface, and if need be, tweak the microphone position or gain of the microphone.
10. Record and Evaluate:

Hit that record button and let your talent shine. Capture a short test take to evaluate the sound quality and listen for any unwelcome noise or artifacts. Pay close attention to background noise, room reflections, and your microphone's stance.
11. Check after Recording:
After your recording session, it's time to play back your takes and fine-tune as needed. Dive into the world of editing and processing to elevate your recordings further. Whether it's noise reduction, EQ, compression, or reverb effects, it's your chance to add that final polish.
Conclusion: Capturing Perfect Sound in Your Soundproof Booth
Setting up your equipment correctly when recording in a soundproof booth is the key to achieving professional-quality audio. By carefully selecting your microphone, getting creative with its placement, embracing the pop filter, and by fine-tuning your DAW and audio interface, you're well on your way to capturing quality recordings within your soundproof sanctuary. Remember, it's all about practice and experimentation to find that perfect setup that complements your unique voice or music instrument. Happy recording!
